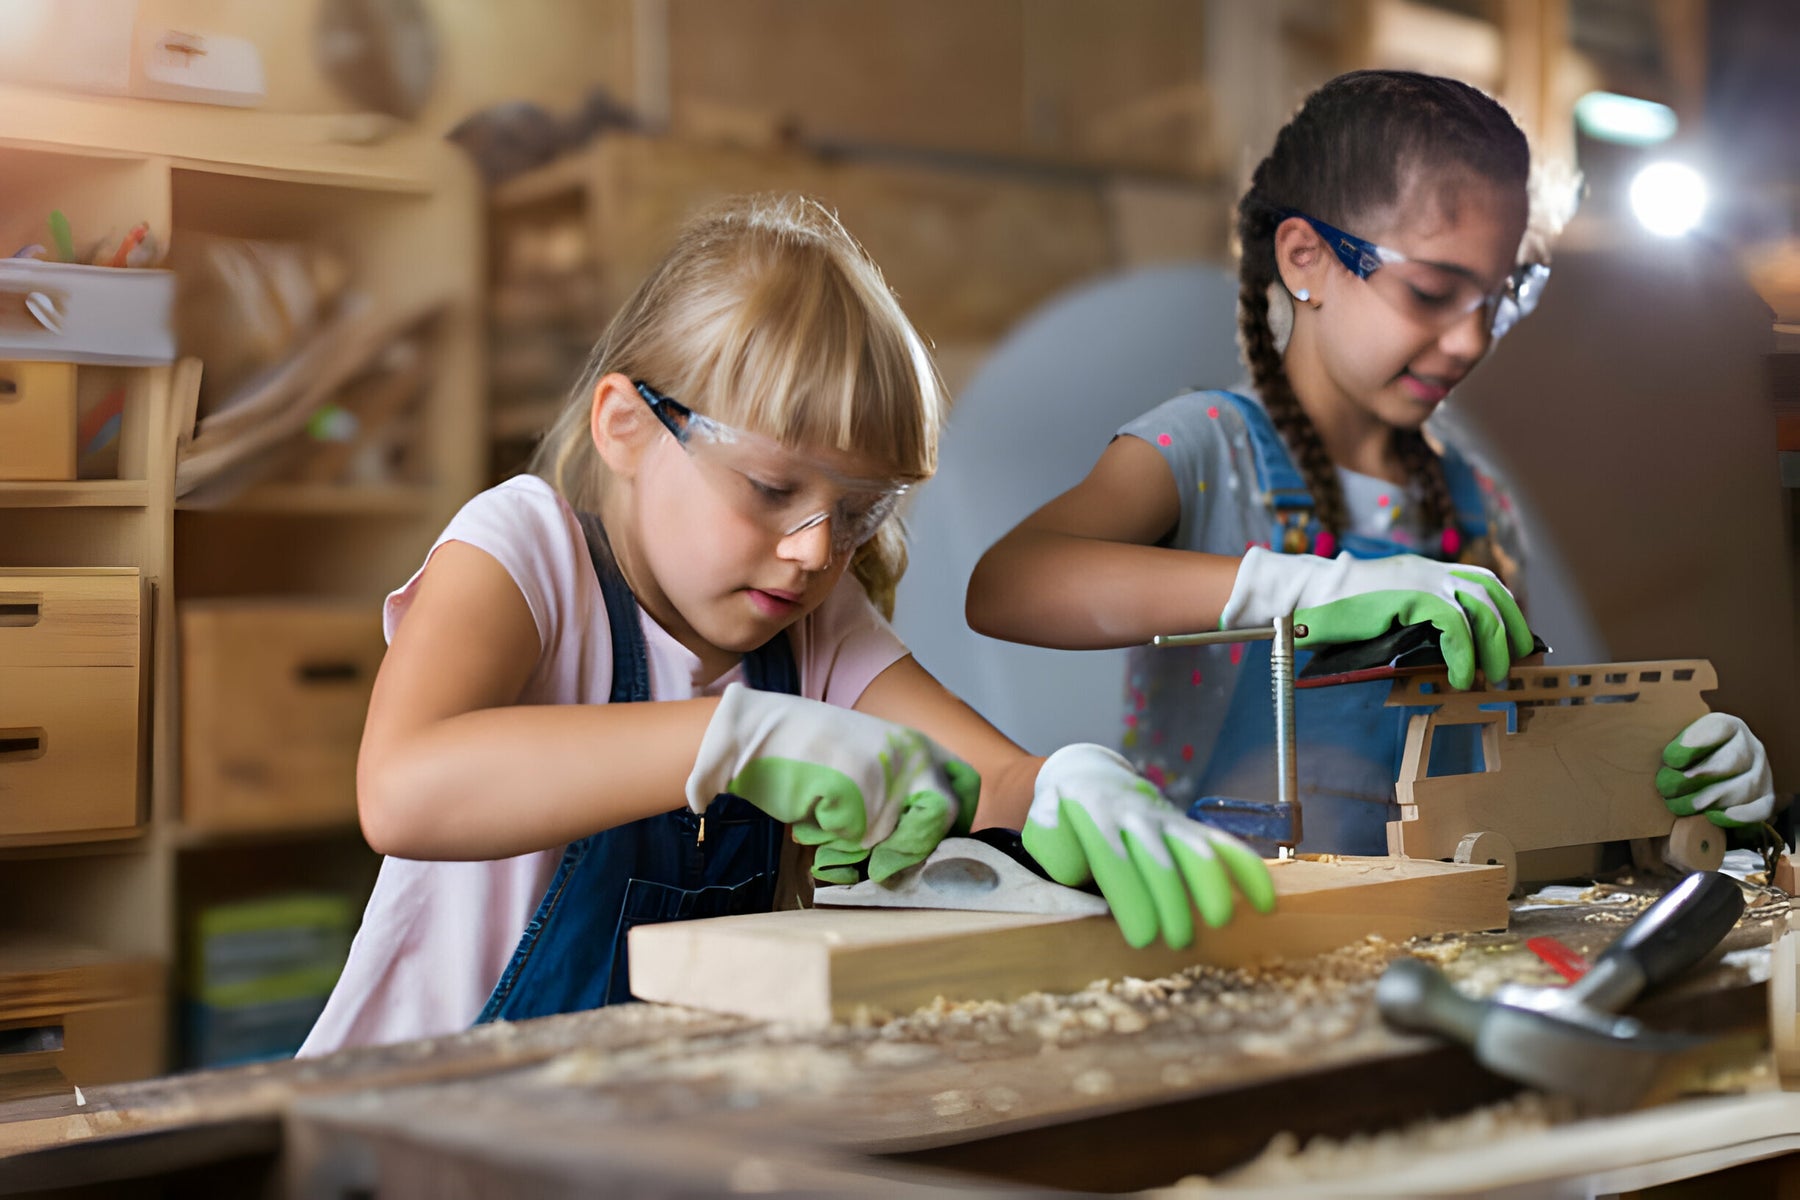
Safe Upcycling Projects with Real Tools for Kids
In a world where sustainability and creativity are becoming increasingly important, introducing kids to upcycling projects can be a fun and educational way to teach them about the value of repurposing materials. However, when it comes to upcycling with real tools, safety becomes a top priority. In this blog post, we'll explore safe upcycling projects that kids can tackle with real tools, the importance of using the right tools, safety measures to consider, and the benefits that come with engaging in these hands-on activities. Let's dive in and discover how kids can unleash their creativity while learning valuable skills in a safe and supervised environment.
Understanding Upcycling and Its Importance
Upcycling is the process of transforming old or discarded items into new, useful products. Unlike recycling, which typically involves breaking down materials to create new ones, upcycling focuses on finding creative ways to give new life to existing materials. By upcycling, we can reduce waste, conserve resources, and minimize our environmental impact.
The Importance of Upcycling
- Environmental Benefits: Upcycling reduces the need for manufacturing new products, which in turn reduces energy consumption and greenhouse gas emissions. It helps to alleviate the burden on landfills and promotes a more sustainable approach to consumption.
- Resource Conservation: Upcycling utilizes existing materials, such as old furniture, clothing, or household items, thereby reducing the demand for new resources. It helps to preserve valuable materials and reduces the need for extraction and production processes.
- Creativity and Innovation: Upcycling encourages out-of-the-box thinking and fosters creativity. It challenges individuals to find innovative ways to repurpose items and gives them the opportunity to express their unique artistic flair.
- Economic Benefits: Upcycling can be a cost-effective alternative to buying new products. By repurposing items, individuals can save money and reduce their overall consumption expenditure.
- Education and Awareness: Engaging in upcycling projects can help educate children about the importance of sustainability, resource conservation, and responsible consumption. It instills in them an understanding of the environmental impact of their actions and empowers them to make more conscious choices.
Understanding the significance of upcycling provides the foundation for embarking on safe and meaningful upcycling projects with real tools. Now, let's explore how to choose the right tools and ensure the safety of kids during their upcycling endeavors.
Identifying Safe Real Tools for Kids
When it comes to upcycling projects involving real tools, ensuring the safety of children is of utmost importance. By choosing the right tools specifically designed for kids, we can provide them with a safe and enjoyable experience. In this section, we will discuss the introduction to safe tools for kids, the factors to consider when choosing the right tools, and the safety measures to implement while using them.
Introduction to Safe Tools for Kids
- Age Appropriateness: Different tools are designed for different age groups. It is crucial to select tools that are suitable for the child's age and developmental stage. Tools with rounded edges and non-slip grips are often recommended for younger children.
- Ergonomics: Tools that are ergonomically designed to fit comfortably in a child's hand are essential. Proper grip and handle size ensure better control and reduce the risk of accidents.
- Durability: Look for tools made from sturdy materials that can withstand the demands of use. High-quality tools are less likely to break or malfunction, ensuring a safer experience for children.
Choosing the Right Tools
- Basic Tool Kit: Start with a basic tool kit that includes essential tools such as a hammer, screwdriver, pliers, and a handsaw. These tools will allow children to complete a variety of upcycling projects.
- Tool Quality: Invest in tools that are specifically designed for children, as they often have additional safety features. Look for tools with a trusted brand name and positive customer reviews to ensure their quality and durability.
- Tool Functionality: Consider the types of projects your child is interested in and select tools that align with those projects. For example, if they enjoy woodworking, include tools like chisels and clamps.
Safety Measures When Using Tools
- Adult Supervision: Always ensure that children are supervised by a responsible adult when using real tools. This supervision allows for immediate assistance in case of accidents or emergencies.
- Personal Protective Equipment (PPE): Teach children the importance of wearing appropriate safety gear, such as safety goggles, gloves, and closed-toe shoes, to protect themselves from potential hazards.
- Tool Handling and Technique: Instruct kids on proper tool handling techniques, including how to hold tools, maintain a safe distance from others, and use tools in a controlled manner. Emphasize the importance of never using tools as toys.
- Workspace Organization: Establish a dedicated workspace that is clean, well-lit, and free from clutter. Encourage children to keep their tools organized and return them to their designated storage area after use.
By understanding the introduction to safe tools for kids, as well as the factors to consider when choosing the right tools and implementing safety measures, we can ensure a secure environment for kids to explore their creativity through upcycling projects. Now, let's move on to the exciting part - discovering upcycling projects that kids can undertake using these real tools.
Upcycling Projects Kids Can Do with Real Tools
Engaging children in upcycling projects not only sparks their creativity but also allows them to learn practical skills and become more environmentally conscious. With the right tools and supervision, kids can tackle a variety of upcycling projects. In this section, we will explore some exciting projects that kids can undertake using real tools.
Building a Birdhouse from Scrap Wood
- Materials Needed: Scrap wood, hammer, nails, handsaw, drill, sandpaper, paint or wood stain, paintbrush.
- Steps:
- Measure and cut the wood pieces for the birdhouse walls, roof, and base.
- Use a handsaw to cut the entrance hole in one of the wall pieces.
- Assemble the pieces together using nails and a hammer.
- Drill drainage holes in the base of the birdhouse.
- Sand the surfaces to remove any rough edges.
- Paint or stain the birdhouse with non-toxic paint.
- Attach a hanger or mount it on a pole, and place it in a suitable area to attract birds.
Related Article: Woodworking for Kids: Real Kids Tools for Scrap Wood Crafts
Creating a Planter from Old Tires
- Materials Needed: Old tire, utility knife, drill, potting soil, plants or seeds.
- Steps:
- Clean the tire thoroughly and remove any debris or dirt.
- Use a utility knife to cut out the inner sidewall of the tire to create a planting area.
- Drill drainage holes in the bottom of the tire.
- Fill the tire with potting soil, leaving enough space for the plants.
- Plant flowers, herbs, or vegetables in the tire planter.
- Place the planter in a suitable location, ensuring proper sunlight and watering as needed.
Making Art & Crafts from Used Paper
- Materials Needed: Used paper (newspaper, magazines, scrap paper), scissors, glue, markers or colored pencils.
- Steps:
- Collect used paper and sort them by color or type.
- Cut the paper into desired shapes or sizes.
- Use glue to create collages or paper mosaics on cardboard or canvas.
- Draw or color on the paper to create unique artwork or greeting cards.
- Encourage creativity by experimenting with different techniques, such as paper folding or origami.
Related Article: Top DIY Cardboard Projects with Kid-Friendly Tool kits
Designing a Table from Old Wooden Pallets
- Materials Needed: Old wooden pallet, hammer, nails, handsaw or jigsaw, sandpaper, paint or wood stain.
- Steps:
- Disassemble the pallet using a hammer and nails, carefully removing the individual planks.
- Measure and cut the planks to the desired size for the table's top and legs.
- Assemble the pieces together using nails and a hammer.
- Sand the surfaces to remove any rough edges or splinters.
- Paint or stain the table to achieve the desired finish.
- Use the table for outdoor or indoor purposes, such as a coffee table or a plant stand.
Crafting a Lamp from Recycled Cans and Bottles
This project not only teaches children about upcycling and sustainability but also introduces them to basic electrical concepts in a safe and supervised environment. It encourages creativity and provides a practical application for their efforts, resulting in a functional piece of art that they can be proud of.
Materials Needed: Empty cans or bottles, paint or decorative materials, lamp kit (including light bulb, socket, and cord), drill, safety goggles, sandpaper.
Steps:
-
Preparing the Cans or Bottles: Begin by thoroughly cleaning the cans or bottles to remove any residue or labels. For cans, if there are sharp edges where the lid was removed, carefully sand these down to prevent injury. For bottles, ensure they are completely dry inside. Choose either cans or bottles depending on the desired look for the lamp.
-
Designing Your Lamp: This step allows for creativity. Paint the cans or bottles with non-toxic paint or decorate them with other materials such as fabric, yarn, or decoupage. Encourage kids to come up with a theme or pattern for their lamp. Let the decorated cans or bottles dry completely before proceeding to the next step.
-
Creating the Lamp Structure: If using cans, they can be stacked and glued together to form the base of the lamp. For bottles, you will use the bottle itself as the lamp base. With adult supervision, carefully drill a hole through the center of the can or bottle cap or bottom (for bottles) to allow the electrical cord of the lamp kit to pass through.
-
Assembling the Lamp: Thread the cord of the lamp kit through the hole drilled in the previous step. Follow the lamp kit instructions to secure the socket at the top of the can or bottle. Ensure that all electrical connections are made safely and according to the kit's instructions. It might be necessary for an adult to complete this step to ensure safety.
-
Finishing Touches: Once the lamp is assembled, insert a suitable light bulb into the socket. Test the lamp to make sure it works correctly. The finished lamp can now be used as a unique addition to a child's room or given as a handmade gift.
These upcycling projects provide children with hands-on experiences that promote creativity, problem-solving skills, and environmental awareness. Remember to always provide proper supervision and guidance throughout the process. In the next section, we will discuss the importance of adult supervision and safety guidelines to ensure a secure upcycling environment for kids.
Supervision and Safety Guidelines for Kids' Upcycling Projects
When it comes to kids' upcycling projects with real tools, adult supervision and implementing safety guidelines are crucial to ensure a safe and enjoyable experience. In this section, we will discuss the importance of adult supervision, safety wear for kids, setting up a safe workspace, and teaching kids the importance of clean-up after work.
Importance of Adult Supervision
- Guidance and Instruction: Adults can provide guidance and instruction to children, ensuring they understand how to properly use tools, follow project instructions, and stay safe throughout the process.
- Accident Prevention: Adult supervision helps prevent accidents by promptly addressing potential hazards, providing immediate assistance in case of emergencies, and ensuring that children are using tools correctly.
- Risk Management: Adults can assess the risks involved in each upcycling project and implement appropriate safety measures. They can identify potential dangers and take necessary precautions to minimize the risk of accidents.
Related Article: Woodworking 101: Teaching Kids to Use Real Saws Safely
Safety Wear for Kids
- Safety Goggles: Kids should wear safety goggles to protect their eyes from flying debris, dust, or any potential hazards associated with using tools.
- Gloves: Properly fitting gloves can protect children's hands from cuts, splinters, or other injuries that may occur while handling tools or materials.
- Closed-Toe Shoes: Encourage children to wear closed-toe shoes to protect their feet from any falling objects or sharp materials.
Setting Up a Safe Workspace
- Adequate Lighting: Ensure the workspace is well-lit, allowing children to see clearly and avoid mishaps.
- Stable Work Surface: Provide a stable work surface, such as a sturdy table or workbench, to minimize the risk of tools or materials falling.
- Secure Tools and Materials: Keep tools and materials organized and securely stored when not in use to prevent accidents and minimize clutter.
- Clear Work Area: Maintain a clutter-free work area, removing any unnecessary objects or obstacles that may cause accidents or hinder movement.
Related Article: Kids' Workshop: Setting Up a Safe Space for Upcycling Projects
Teaching Kids the Importance of Clean-Up After Work
- Dealing with Waste: Teach children the importance of properly disposing of waste materials, such as scraps, packaging, or unused materials, in designated bins or recycling containers.
- Tool Storage: Emphasize the significance of returning tools to their designated storage area after use to prevent accidents and maintain an organized workspace.
- Cleaning Up: Encourage children to clean up their work area, including sweeping or vacuuming any debris or dust, and wiping down surfaces to keep the workspace tidy and safe.
By prioritizing adult supervision, providing appropriate safety wear, setting up a safe workspace, and teaching the importance of clean-up, we can ensure that kids' upcycling projects with real tools are both educational and secure. In the next section, we will explore the benefits that upcycling brings to children's development and overall well-being.
Benefits of Upcycling for Kids
Engaging children in upcycling projects with real tools offers a multitude of benefits that contribute to their development and overall well-being. In this section, we will delve into the various advantages that upcycling brings to children.
Enhancing Creativity and Problem-Solving Skills
- Out-of-the-Box Thinking: Upcycling encourages children to think creatively and find innovative solutions to repurpose materials. It stimulates their imagination and fosters a mindset of resourcefulness.
- Problem-Solving: Through upcycling projects, children encounter challenges that require problem-solving skills. They learn to analyze situations, think critically, and find practical solutions to create something new and functional.
- Design and Innovation: Upcycling allows children to explore design concepts, experiment with different materials, and develop their own unique creations. It nurtures their ability to think critically about aesthetics, functionality, and sustainability.
Teaching Responsibility and Sustainability
- Environmental Awareness: Upcycling projects promote an understanding of the environmental impact of waste and the importance of responsible consumption. Children learn to value and respect resources, fostering a sense of environmental stewardship.
- Resource Management: Through upcycling, children learn to make the most of what they have, minimizing waste and maximizing the potential of materials. They develop skills in resource management and discover the value of repurposing items.
- Sustainable Practices: Upcycling teaches children about sustainable practices, such as reusing and repurposing, which can be carried into other aspects of their lives. It cultivates a mindset of conscious consumption and reduces their ecological footprint.
Promoting Teamwork and Cooperation
- Collaborative Projects: Upcycling can be a collaborative activity, providing opportunities for children to work together on a shared project. This promotes teamwork, cooperation, and the ability to communicate and compromise effectively.
- Sharing Ideas and Skills: Kids can exchange ideas, share their knowledge, and learn from one another during upcycling projects. This fosters social interaction, boosts communication skills, and encourages a supportive and inclusive environment.
Boosting Confidence and Self-Esteem
- Sense of Achievement: Completing an upcycling project gives children a sense of accomplishment and pride in their abilities. They witness their ideas come to life and gain confidence in their creative and practical skills.
- Problem-Solving Success: Overcoming challenges during upcycling projects builds resilience and self-assurance in children. They learn to trust their problem-solving abilities, which can positively impact their overall self-esteem.
- Personal Expression: Upcycling allows children to express their individuality and personal style through their creations. It boosts their self-confidence and encourages them to embrace their unique ideas and perspectives.
Engaging in upcycling projects with real tools provides children with a range of benefits, from enhancing creativity and problem-solving skills to fostering responsibility, sustainability, teamwork, and confidence. By encouraging their involvement in these projects, we empower children to become active participants in creating a more sustainable future.
Related Topics
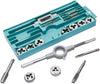
Understanding Tap and Die Thread Standards
Tap and die sets are essential tools used in various projects to create threads on screws, bolts,...
Read More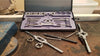
Tap and Die Set Materials: Which One Is Right for You?
If you're looking to understand tap and die sets, you've come to the right place. These tools are...
Read More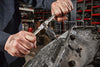
A Step-by-Step Guide to Using Tap and Die Sets Safely
This guide will help you understand how to use tap and die sets safely and effectively. Whether y...
Read More