Kids' Workshop: Setting Up a Safe Space for Upcycling Projects
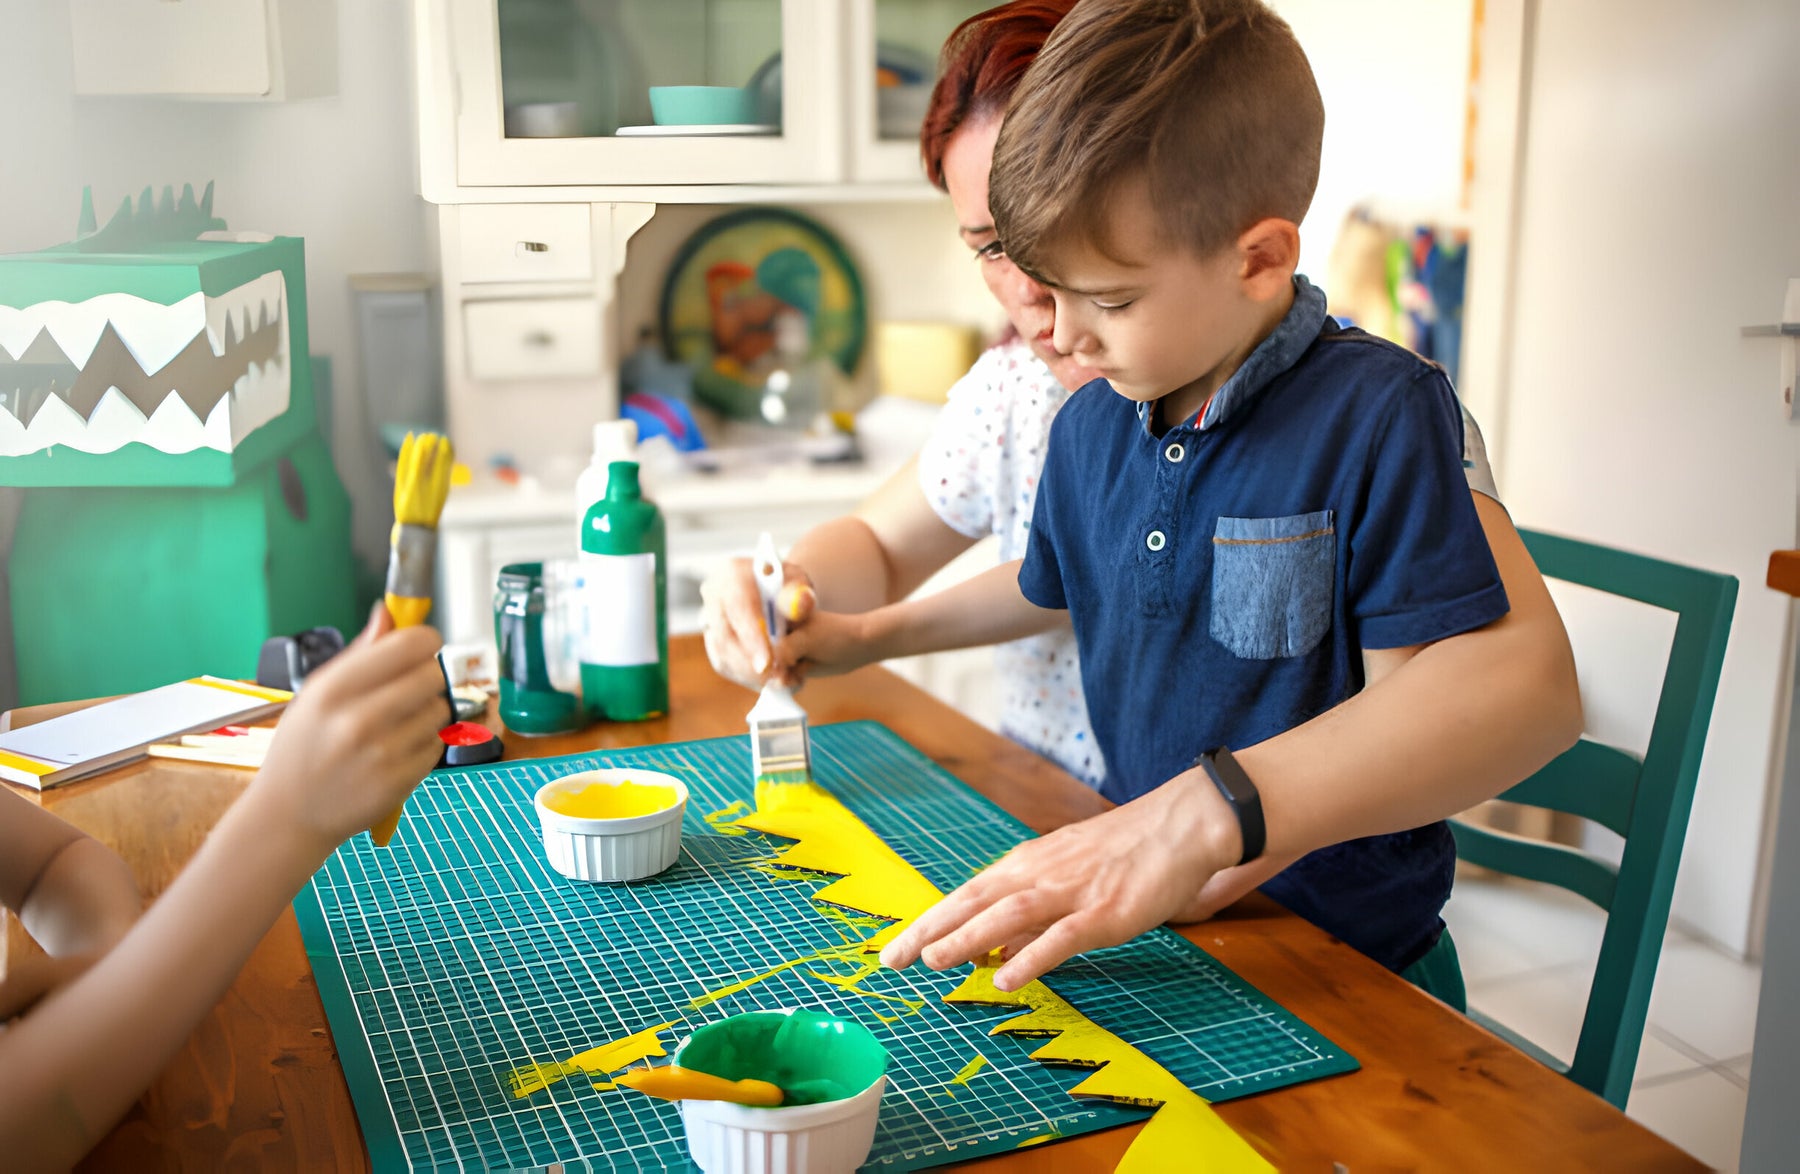
Setting up a kids' workshop space to foster creativity through upcycling old objects is a rewarding experience for both children and parents. However, it is imperative that safety is the top priority when giving kids access to real tools. This extensive guide will outline the necessary steps for creating a risk-free environment where our little inventors can tinker to their heart's content.
Upcycling teaches kids that discarded items have the potential for a second life. They develop problem-solving skills as they determine new uses for old things. However, managing risks is crucial so fun isn't derailed by accidents or injuries. With diligent planning and precautions, our workshops can be havens where curiosity and imagination thrive.
Woodcraft and Carpentry Safety in DIY Workshop Environments for Kids
Creating a safe, engaging workshop for young DIY enthusiasts involves more than just handing out smaller tools. It's about cultivating an environment that prioritizes safety while encouraging exploration and creativity. This section provides an in-depth look at establishing and maintaining a secure space for children to learn and enjoy woodworking and upcycling projects.
1. Designing a Child-Friendly Workspace
Ensure the workshop area is well-organized with clearly defined workspaces. Ample room between stations prevents overcrowding and reduces the risk of accidents. Floors should be slip-resistant, and the area well-lit to avoid shadows or poor visibility.
Tools should be stored securely, with sharp or dangerous items out of reach when not in use. Consider locking cabinets or tool walls with hooks that are only accessible by adults. This not only keeps the workshop tidy but also teaches kids the importance of putting tools away safely.
2. Workbenches and Seating
Opt for adjustable workbenches that can grow with the child, ensuring they're always working at a comfortable height. Stable seating or standing supports can help prevent fatigue during longer projects.
3. Selecting and Maintaining Appropriate Tools
Invest in high-quality, durable tools designed for children. They should be ergonomically suited to small hands but not so toy-like that they compromise on functionality.
Before any project begins, inspect tools for damage such as splintered handles or dull blades. Keeping tools in good condition reduces the risk of accidents caused by equipment failure.
Before children begin working with any new tool, demonstrate its safe use. Include lessons on carrying, passing, and storing tools properly. Reinforce the idea that tools are not toys and should be handled with respect and care.
4. First Aid and Emergency Procedures
Equip the workshop with a fully stocked first aid kit and ensure all supervising adults are familiar with basic first aid procedures. Establish clear rules for what to do in case of an accident, including how to call for help.
Related Article: Safe Upcycling Projects with Real Tools for Kids
Workspace Area
The designated workspace should be:
- Roomy but not cluttered, allowing freedom of movement but preventing hazards. At least 10 feet by 10 feet is recommended.
- Well-lit, either with overhead lighting or work lamps, removing shadows or eye strain.
- Away from doors or walkways to avoid collisions or people inadvertently entering the space.
- Contain materials, limiting spills or loose objects on the floor. Equipment and supplies have designated storage areas.
Workspace Surface
The table or counter surface should be:
- Durable yet non-porous for easy cleaning of spills or messes. Wood is not recommended.
- Non-slip to prevent sliding of materials or tools. A rubber mat or contact paper helps.
- Clear of any other objects except the current project, avoiding clutter.
Securing Tools
It is critical that tools are:
- Stored safely when not in use and not left unattended mid-project.
- Out of reach of small hands, either high shelves or locked cabinets/drawers.
- Kept sharp blades securely sheathed or boxed when not actively cutting.
Tool Type by Age
Appropriate tools match each child's:
- Manual dexterity and fine motor coordination at their stage of development.
- Ability to understand safety guidelines that come with each tool.
- Level of responsibility and follow-through in keeping tools securely stored.
Protective Equipment
Safety gear should not be an afterthought but an integral part of the experience:
- Heavy-duty work gloves help little hands safely hold, apply pressure, or move items.
- Safety goggles protect eyes from flying chips or particles for sawing, sanding, etc.
- Hearing protection shields sensitive ears from loud noises.
Fitting Equipment Correctly
Gloves, goggles and ear muffs are only effective when:
- Sized to fit each child and form an adequate barrier.
- Worn appropriately as intended, like placing goggles over eyes rather than on the forehead.
- Explaining why they help prevent specific "owies" engaging young minds in safety.
Supervising Adults
Experienced adults:
- Guide children through each project step-by-step where needed.
- Demonstrate safe tool use before allowing kids to try themselves.
- Are present in the workshop space at all times, supervising number of children that can be safely monitored.
Adult Positioning
For optimal safety:
- Stand next to younger children to directly observe their movements and grant aid promptly if needed.
- Encourage independent work but remain vigilant, within arm's reach of power tools for example.
- Rotate supervising to avoid fatigue which could compromise focused attention.
Maintaining Order
A clean, clear space prevents incidents:
- Put unused tools, remnants and debris in their proper storage weekly to reduce clutter.
- Sweep or vacuum regularly to remove fine particles and dust that could cause asthma issues.
- Spot clean table surfaces, shelves and containers frequently to promote hygiene.
Organizing Materials
Raw materials are stored thoughtfully:
- Sort items into labeled bins, boxes or racks by material type.
- Ensure weight and size are suitable for ergonomic lifting, handling by younger hands.
- Note hazard warnings and appropriately dispose of toxic substances.
First Aid Kit
No workshop is complete without a well-stocked first aid kit:
- Band-Aids, antiseptic, gauze in multiple sizes.
- Non-latex gloves.
- Flashlight.
- First aid guidebook.
- Ice pack.
Kit Location
The kit must be:
- Easily accessible but out of reach of little hands.
- Clearly labeled for quick identification in an emergency.
- Regularly restocked and contents checked for expiration dates.
Project Planning
Consider each activity's:
- Complexity, matching children's skill levels to prevent frustration.
- Duration to retain focus and interest without exhaustion.
- Step-by-step instructions with illustrations if needed.
Testing Prototypes
Evaluate designs for:
- Structural integrity to avoid collapse, breakage which may cause injury.
- Sharp edges that could cut rather than constructive creations.
- Materials used, avoiding known toxic substances, moldable plastics at high temps.
Welcome Distractions
Short breaks boost morale:
- Stations with coloring books, puzzles integrate other skills.
- Snack time recharges bodies and minds in a separate, hygienic area.
- Calm music or podcasts drown machinery noise without disturbing concentration.
The Joy of Creation
Ultimately, the goal is nurturing curious minds through safe, hands-on learning. With diligence, our workshops can inspire blossoming young inventors for many hours of fun and discovery to come! Watching kids' spark of creativity catching light makes all the preparation worthwhile. Their joy and pride in their handmade pieces remind us that every great idea starts as merely a twinkle in someone's eye. May our little workshop spark that twinkle for many kids to come!
Related Topics
How to Repair Stripped Threads Using a Tap and Die Set
Stripped threads can be a common issue when working with metal parts, especially in automotive re...
Read More
Understanding Tap and Die Thread Standards
Tap and die sets are essential tools used in various projects to create threads on screws, bolts,...
Read More
Tap and Die Set Materials: Which One Is Right for You?
If you're looking to understand tap and die sets, you've come to the right place. These tools are...
Read More