Protecting Your Workpieces: Proper Clamping Techniques
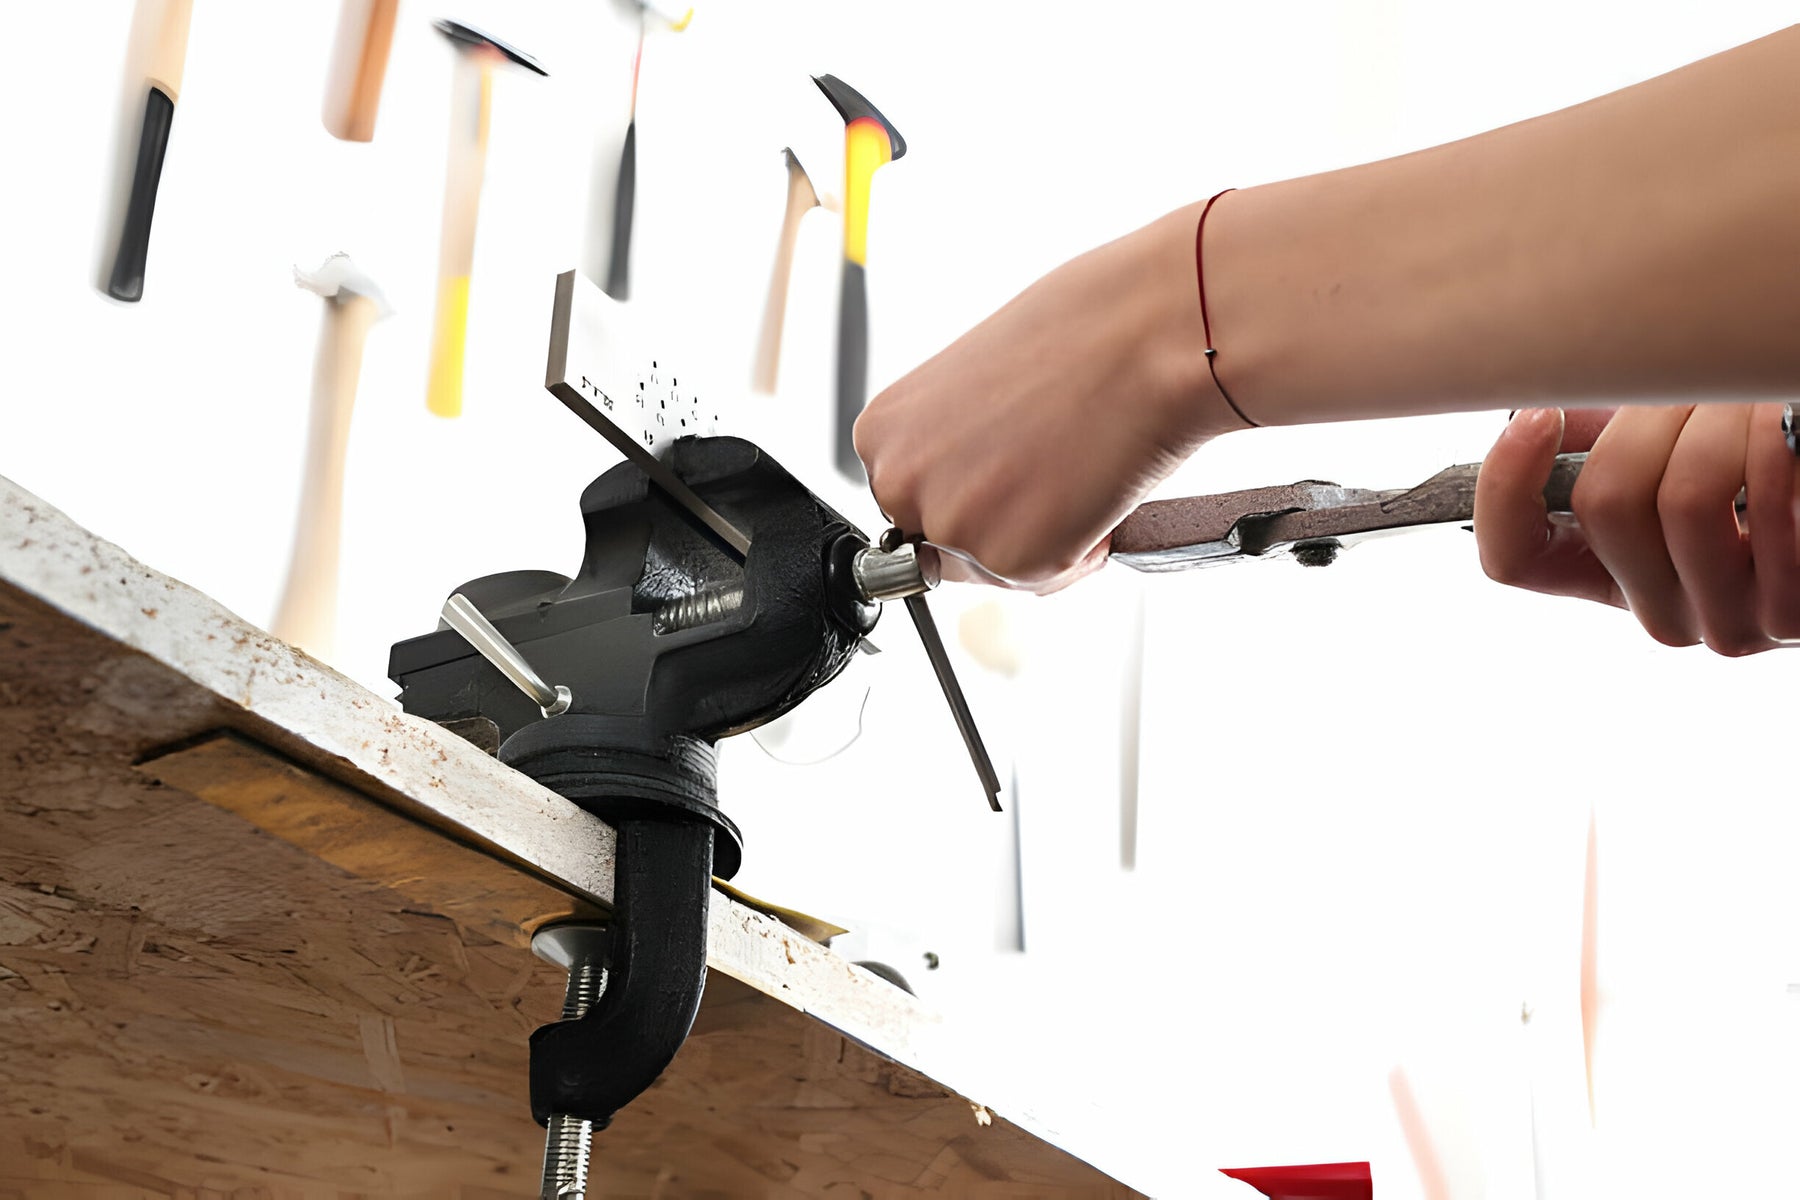
A bench vise is an indispensable tool for precisely fabricating, modifying or repairing workpieces of all materials. However, overzealous or improper clamping methods can easily damage even the strongest of workpieces. With experience, we have seen edges crushed, surfaces marred and costly mistakes made due to careless vise usage. This extensive guide covers best practices for safely and effectively clamping any job without risking harm to your materials. From preliminary work holding planning to final unclamping checks, following these techniques ensures maximum productivity with zero rework.
Assessing Workpiece Durability
Hardness, thickness and grain direction
- Brittle or soft materials require extra care
- Thin stock may dent or tear more easily
Machined, cast or as-built condition
- Sharp edges on castings concentrate stresses
- Machine-finished parts show fingerprints more readily
To protect your parts, understand their individual tolerances to pressure. Consider raw material makeup plus any preceding processes like casting, bending or machining. Softer metals dent deeper while riveted grain flow marks in wood may split open. Likewise, as-built edges designed to function may crack if over-squeezed. Familiarizing yourself with each workpiece's construction spots its pressure sensitivities ahead of time. Tailor vise positions accordingly before any risks arise.
Selecting Proper Jaw Faces
Smooth or serrated, hardened or soft?
- Serrated jaws dig into softer materials
- Slip-resistant coatings reduce jaw marks
Sized and shaped to fit workpiece
- Fill as much jaw face area as safely possible
- Specialty vise attachments optimize odd shapes
Not all vise jaws suit every task. Sharp-toothed serrations may tear delicate surfaces while smooth jaws risk slipping. Balance grip with marring here. Profile jaw faces to contour tight to the work for minimized contact area bearing down, yet filling for stability. Change jaws when sizes no longer reasonably fit to avoid overhangs concentrating force. Special attachments cater to odd angles, diameters, tubes or more. Precision means tailoring grips perfectly for each unique work holding challenge.
Jaw Protection Basics
Slippery interlayers like tape or paper
- Create frictionless cushion between jaws and workpiece
- Self-adhesive soft material pads provide more protection
Extra marring prevention for soft materials
- Rubberized mattes bond securely without digging in
- Nylon or plastic sheeting shields against gouging
Adding slip-resistant surfaces between jaws and work extends tool lifespans by redistributing stress. Masking or packing tape suffice for minor jobs while self-fusing silicone mattes bond strong for repeated use. Wax paper also prevents marring but could compress. Extra protection serves softer wares by using pliable coatings and insulators to evenly disperse pressure without sharp transfer. Thoughtfully applied protectors give peace of mind when holding jobs close to capacity.
Proper Clamping Procedure
Position workpiece and close jaws with care
- Gradual, controlled pressure prevents trapping items
- Never force an improper fit with jamming motions
Check for stableness and parallelism
- Adjust positions until perfectly still and balanced
- Jaws parallel to stock prevents racking forces
Snug but not overly tight clamps
- No slack yet workpiece cannot shift within grip
- Overtightening risks deformation from excessive stress
Smooth, steady motions characterize safe vise work. Gently settle parts until locating surfaces contact, then slowly advance jaws until rightly snug without hogging shut. Double check parallelism from multiple angles to rule out binding. Correctly positioned clamps yield zero play yet leave a hair of room inside the jaws. A too-snug grip exerts unnecessary stresses liable to alter dimensions over time on delicate pieces. Go lightly where precision is paramount.
Avoiding Focused Load Points
Preventing sharp contact edges
- Relieve corners and chamfer holding surfaces
- Use rounded stock whenever dimensionally feasible
Distributing clamping loads evenly
- Multiple clamp positions relieve single contact points
- Clamp across width not just along an edge or corner
Stress concentrations generate weaknesses. Round or bevel locations bearing clamping loads to transfer force over broad areas instead of singular sharp contact points. This applies to both workpieces and clamp contacting geometry. Consider extra clamp positions to alleviate hotspots and share loads across multiple bearing surfaces wherever stock dimensions allow. Keeping deformation spread evenly maintains dimensional stability under pressure far better than point-loading.
Inspection and Adjustment
Check workpiece periodically
- Re-examine positioning and grips as work progresses
- Relocate or respace clamps if slippage occurs
Lightly re-tighten if needed
- Material compression or expansion may induce slack
- Beware over-cranking perfectly sound earlier setups
Maintain vise control with checks between procedure steps. Process changes like sawing or surfacing alter effective dimensions. Re-examine centering to catch potential shifts and make micro adjustments maintaining balance. Likewise, ambient impacts or repositioning for subsequent ops may warrant light re-tightening as a precautionary measure. However, a properly tensioned vise generally holds stable if undisturbed - no need loosening sound setups unnecessarily. Constant attention safeguards quality more than set-it-and-forget assumptions.
Special Material Considerations
Brittle materials like castings
- Pad pressure points and go very light on the grip
- Consider using clamps plus supplemental soft-jawed fixtures
Delicate or soft materials
- Optimize stress distribution with multiple soft clamping schemes
- Consider an alternative holding method like clamps if risks are too great
Rough-textured or anti-slip coatings
- Pad both jaws and contact points on coated surfaces
- Ensure pad remains in place and absorbs marring pressures
Some stocks require especially nuanced techniques. Brittle castings or non-metallics call for ultralight distributed clamping by any means, possibly even auxiliary fixtures. Delicates gain security from padded multi-point schemes totally eliminating direct vise contact. Rough or slip-resistant surfaces mandate padding due to marring tendencies under any localized loading. Creative work holding tailors to unique job needs maintaining precision and surface quality in hostile scenarios conventional vises can’t effectively address alone.
Related Article: Top Tips to Avoid Common Bench Vise Mistakes
Safeguarding Quality to the End
Protecting your work extends beyond initial clamping through final inspection once unrestrained. Check for unintended imperfections before proceeding and make corrections if anything slipped by. Adopting diligent clamping protocols optimized for each material preserves dimensional tolerance and finish quality far better than one-size-fits-all methods. With experience and thoughtful preparation, any bench vise can safely wrangle even the most finicky jobs into fabrication success.
Proper work holding determines a project’s fate from day one. The margin for error shrinks on critical applications requiring laser-sharp precision. Taking time to thoroughly understand a part’s composition and intended use upfront prevents assumptions from undermining quality down the road. Rigorous material analysis, clamp selection and setup techniques optimized for the job build confidence that nothing - not even pressure sensitive details - fall prey to an overbearing vise grip. With practice, conservation of stock becomes second nature, preserving dimensional integrity and surface finish so coveted custom components emerge flawless as designed.


