DIY Faucet Installation: A Step-by-Step Guide
Are you tired of your old and outdated faucet? Looking to upgrade to a stylish, new fixture without breaking the bank? If so, then you're in luck! With the right tools and some handy DIY skills, installing a new faucet can be an easy and cost-effective way to give your bathroom or kitchen a fresh update.
Whether you're a serious DIY enthusiast, home decorator, builder or homeowner, this step-by-step guide will help you successfully install a faucet like a pro. Say goodbye to costly plumber fees and hello to newfound confidence in tackling any home improvement project. So, grab your tool kit and let's get started on transforming your space with our DIY faucet installation guide.
Tools and materials needed for the installation process
Are you starting a DIY installation project but not sure where to begin? Before diving into the actual work, make sure you have all the necessary tools and materials at hand. Here's a quick rundown of what you'll need for a successful installation process: a drill, screwdriver, measuring tape, level, pliers, hammer, saw, and utility knife. You'll also require basic materials such as screws, nails, anchors, brackets, and adhesive. Make sure to assess the specific materials required for your project, such as the type of wood or metal you'll be working with and the fastener size and type. Having the right tools and materials can save you time and headaches down the line and ensure your project is completed to your satisfaction.
Step 1 - Shut off water supply and remove old faucet
- One of the first steps when replacing a faucet is to shut off the water supply and remove the old fixture. While this may seem like a simple task, some faucets can prove to be quite stubborn when it comes to removal. To make the process easier, first, consult the manufacturer's instructions for any specific tips or tools needed to remove the faucet. If the faucet is still difficult to remove, try using a penetrating oil or applying heat with a hairdryer to loosen it. With a little patience and persistence, you'll have that old faucet out in no time.
Step 2 - Assemble new faucet according to manufacturer instructions
- Now that you have gathered all the necessary tools and parts, it's time to assemble your brand-new faucet! It's important to carefully follow the manufacturer's instructions in order to ensure proper installation and avoid any potential leaks. To make things even easier, most instructions come with helpful visual aids to guide you along the way. Just remember to take your time and double-check everything before moving on to the next step. A perfectly functioning faucet will make your everyday kitchen or bathroom tasks that much more efficient and enjoyable. So, let's get started on this exciting DIY project!
Step 3 - Prepare sink for new faucet installation (checking for leaks, cleaning surface, etc.)
- Installing a new faucet can be an exciting addition to any kitchen or bathroom, but it's important to complete Step 3 carefully to ensure a smooth installation process. At this stage, you will need to prepare your sink for the new faucet by checking for any leaks and cleaning the surface area. A small leak can quickly turn into a larger problem, so taking the time to check for any potential issues beforehand is crucial. Additionally, cleaning the surface area will ensure a secure installation and help to maintain the new faucet's longevity. By completing Step 3 with precision, you'll be one step closer to enjoying your new and improved sink.
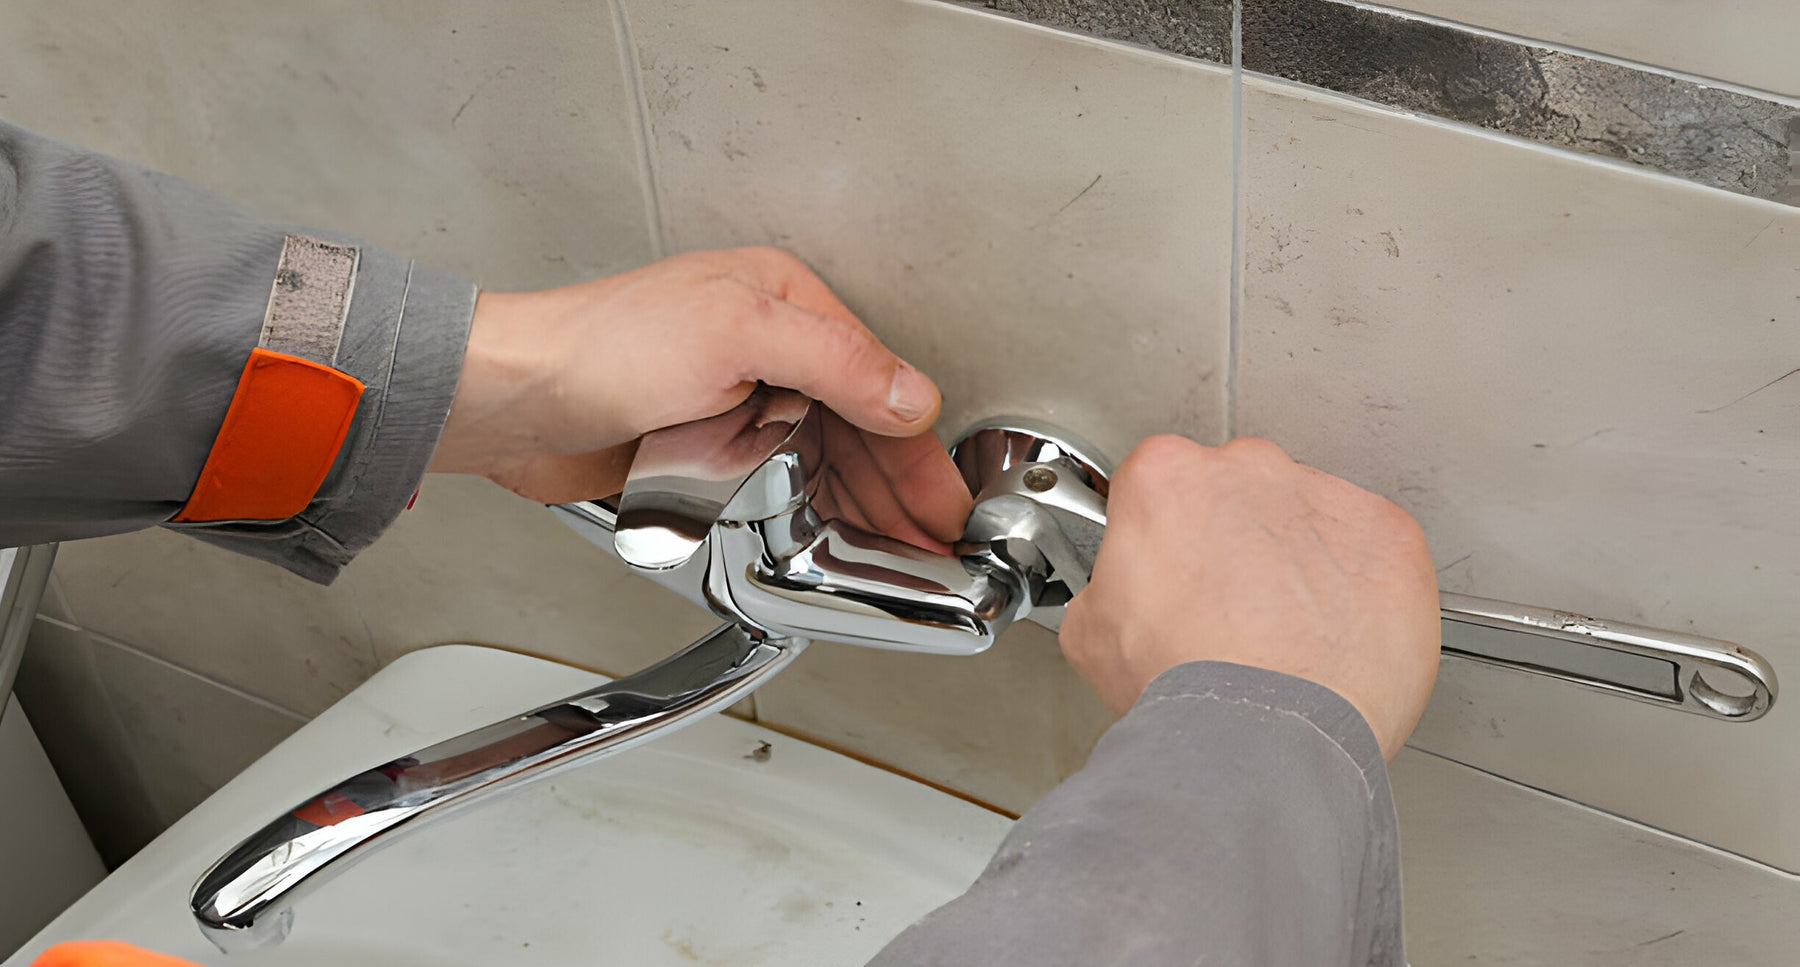
Step 4 - Install new faucet onto sink
- Installing a new faucet onto a sink may seem like a daunting task, but with our detailed instructions accompanied by clear images, you'll have your new fixture up and running in no time! First, gather all necessary tools and make sure to shut off the water supply valves under the sink. Next, remove the old faucet and clean the sink surface thoroughly. Then, follow our step-by-step instructions for attaching the new faucet, making sure to tighten all connections securely. Finally, turn on the water supply valves and test the new faucet for any leaks or issues. With our easy-to-follow guide, updating your sink's style and functionality has never been easier.
Step 5 - Connect water supply lines and check for leaks (troubleshooting tips if leaks are present)
- Now that you have reached Step 5 of your DIY plumbing project, it's time to connect your water supply lines and check for leaks. This is an important step to ensure that your plumbing system operates smoothly. However, if you do encounter leaks, there's no need to worry. Here are some quick troubleshooting tips: first, make sure all connections are tight. If that doesn't solve the issue, try removing and replacing the fittings. If the leak persists, you may need to replace the entire section of pipe. Remember to take your time and stay patient during this process. With careful attention, you will have your plumbing system up and running in no time.
Related Article: Exploring DIY Plumbing: Tips for Homeowners
Completing the installation and enjoying your newly installed faucet!
Congratulations! You've successfully completed the installation of your new faucet and now you can enjoy the convenience of running water at the touch of your fingertips. As you admire your new addition to your bathroom or kitchen sink, take a moment to savor the feeling of accomplishment that comes with a job well done. Whether you replaced a leaky faucet or just wanted to upgrade the look of your sink, you've made a significant improvement to your home. Now it's time to sit back, relax, and revel in the ease and functionality of your new faucet. Cheers to a job well done!
Faucet installation may seem like a daunting task, but it is actually a simple and rewarding DIY project. By following the steps outlined in this blog post, you can successfully install a new faucet and enjoy its many benefits. Remember to always shut off the water supply and remove the old faucet before beginning the installation process. Have all the necessary tools and materials ready for convenience and efficiency. Assemble your new faucet according to manufacturer instructions and prepare your sink for its arrival. Take your time during installation, paying close attention to details and ensuring a secure fit. Once everything is connected, turn on the water supply and check for any leaks – don't worry if there are some, as troubleshooting tips are provided in this post.
Don't hesitate to share your DIY experience with others or seek professional help if needed. A functioning faucet adds value to every household, so take pride in completing this project on your own. Stay tuned for more DIY tips and tricks – until next time!
Related Topics

Top 5 Uses for Tap and Die Sets in Everyday Repairs
When it comes to versatile tools for repair and maintenance, Tap and Die Sets are among the most ...
Read More
What Are Tap and Die Sets? A Beginner’s Guide
When it comes to threading bolts, rods, or holes, Tap and Die Sets are essential tools for profes...
Read More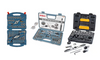
Top 10 Best Tap and Die Sets in 2025
Whether you’re a professional mechanic, DIY enthusiast, or someone who occasionally needs to fix ...
Read More