20 DIY Furniture Projects to Transform Your Living Space
The art of do-it-yourself (DIY) projects is not only a great way to save money but also a creative outlet to transform your living space. This article will guide you through 20 exciting and transformative DIY furniture projects, suitable for everyone from beginners to expert craftsmen.
Table of Contents
- Introduction
- Most Useful DIY Hand Tools
- DIY Projects
- Project 1: Pallet Coffee Table
- Project 2: Reclaimed Wood Bookshelf
- Project 3: Industrial Pipe Shelving
- Project 4: Wine Crate Storage
- Project 5: Floating TV Stand
- Project 6: Rustic Coat Rack
- Project 7: Upcycled Bar Cart
- Project 8: Stenciled Side Table
- Project 9: Customized Wooden Headboard
- Project 10: Farmhouse Dining Table
- Project 11: Vintage Vanity Makeover
- Project 12: DIY Ottoman
- Project 13: Wooden Bench
- Project 14: Corner Desk
- Project 15: Hanging Swing Chair
- Project 16: Garden Potting Bench
- Project 17: Outdoor Sofa
- Project 18: Bedside Nightstand
- Project 19: DIY Dresser
- Project 20: Wooden Shoe Rack
- Conclusion
Introduction
Whether you're a seasoned professional or just starting out on your DIY journey, these projects offer a range of experiences with practical and aesthetically pleasing results. Each project has been carefully selected and explained in detail to ensure success in your endeavors.
Most Useful DIY Hand Tools for DIY Furniture Projects
Before we dive into the projects, let's look at some essential tools. These are the workhorses of any DIY project and will be invaluable in your furniture transformations:
- Measuring Tape: Accurate measurements are crucial to any project. An example of its use would be determining the length, width, and height of your desired coffee table.
- Hammer: A basic tool for driving nails, breaking objects, or fitting parts together. For instance, when assembling your reclaimed wood bookshelf, you'll use a hammer to secure the shelves.
- Screwdriver: Used for turning screws with slotted heads. It's integral in projects like the industrial pipe shelving where you'll attach the pipes to the wood.
- Power Drill: A versatile tool for drilling holes and driving screws. In the wine crate storage project, you'll use a power drill to assemble the crates together.
- Saw: Required for cutting through materials such as wood. It will be handy in creating your customized wooden headboard.
Remember, safety always comes first when using these tools. Now, let's get started with our projects!
Related Article: DIY Home Maintenance Checklist: 10 Essential Tasks
DIY Projects
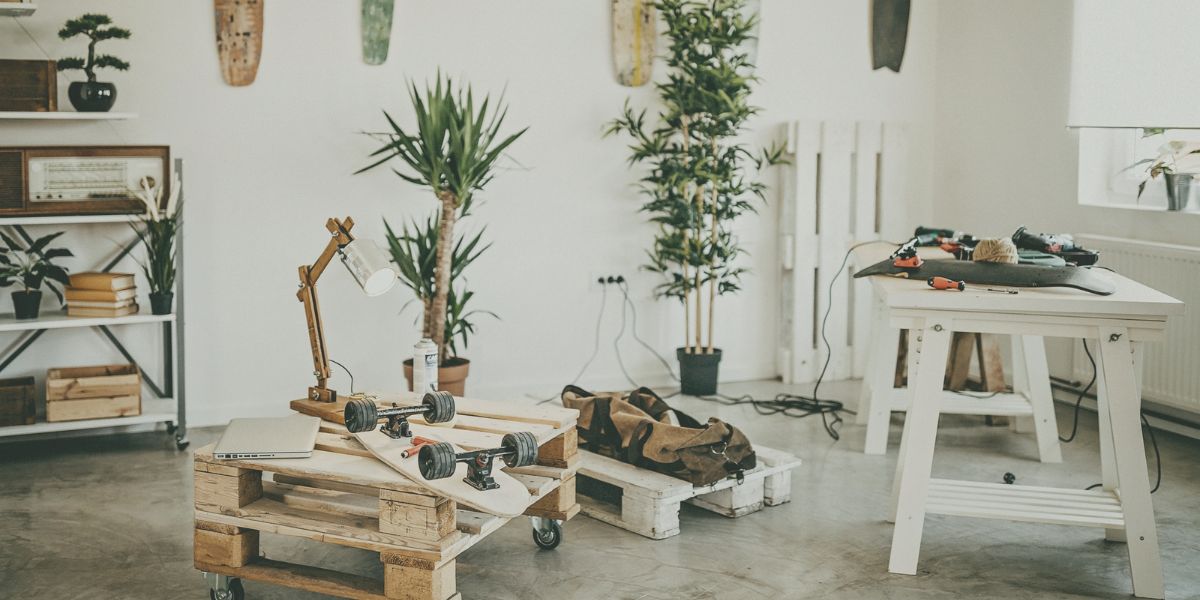
Project 1: Pallet Coffee Table

Creating a coffee table from pallets is a beginner-friendly project that adds a rustic touch to your living room.
- Materials: You will need a wooden pallet, four caster wheels, screws, and paint or stain.
- Process: Start by sanding the pallet to smooth out rough edges. Next, apply your chosen paint or stain for a finished look. Once dry, attach the four caster wheels to each corner of the pallet. Voila! You have a rolling coffee table.
Project 2: Reclaimed Wood Bookshelf
This project involves building a bookshelf using reclaimed wood, perfect for adding a vintage touch to your home.
- Materials: Gather several pieces of reclaimed wood, screws, and brackets.
- Process: Measure and cut the wood to your desired shelf length. Sand and finish the wood, then use brackets and screws to secure the shelves to the wall.
Project 3: Industrial Pipe Shelving

A trendy and functional addition to any room, these shelves provide a modern and industrial aesthetic.
- Materials: You will need metal pipes and flanges, screws, and wooden planks.
- Process: Cut and sand the wooden planks to your desired shelf length. Attach the metal flanges to the bottom of each plank using screws. Screw the metal pipes into the flanges, and mount your new industrial shelves onto the wall.
Project 4: Wine Crate Storage

Turn old wine crates into attractive, rustic storage units that can be stacked or hung on walls.
- Materials: Gather several wine crates, screws, and paint or stain if desired.
- Process: Sand the crates and apply paint or stain if you want a specific color. Once dry, the crates can be stacked or attached to the wall using screws.
Project 5: Floating TV Stand
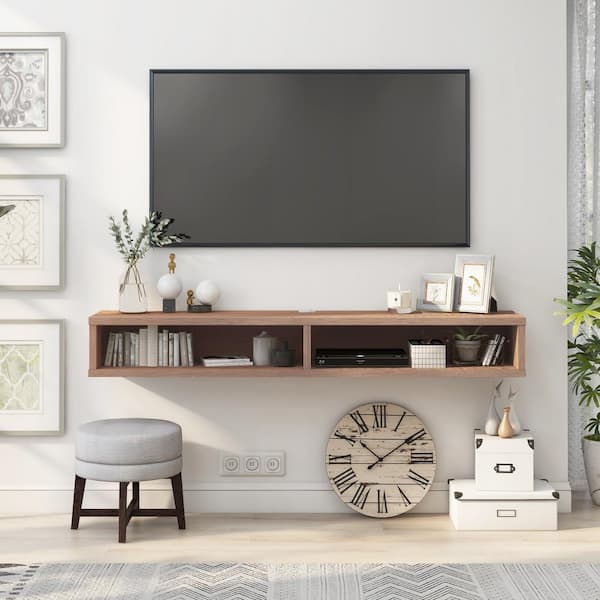
Save floor space and modernize your living room with a floating TV stand.
- Materials: You'll need a large wooden plank or board, brackets, screws, and a power drill.
- Process: Cut the wood to match the length of your TV. Attach the brackets to the back of the wood using screws. Mount the TV stand onto the wall ensuring it's level.
Project 6: Rustic Coat Rack

This project repurposes old pieces of wood into a useful and visually appealing coat rack.
- Materials: An old piece of wood, coat hooks, screws, and paint or stain.
- Process: Sand the wood and apply paint or stain for a finished look. Once dry, screw the coat hooks evenly along the wood. Mount your new coat rack onto the wall.
Project 7: Upcycled Bar Cart

Transform an old cart or trolley into a stylish bar cart.
- Materials: An old cart or trolley, paint or spray paint, and optional accessories like wine glass holders.
- Process: Clean the cart and apply a fresh coat of paint. Attach any accessories like wine glass holders, then let it dry. Your new bar cart is ready to be stocked!
Project 8: Stenciled Side Table
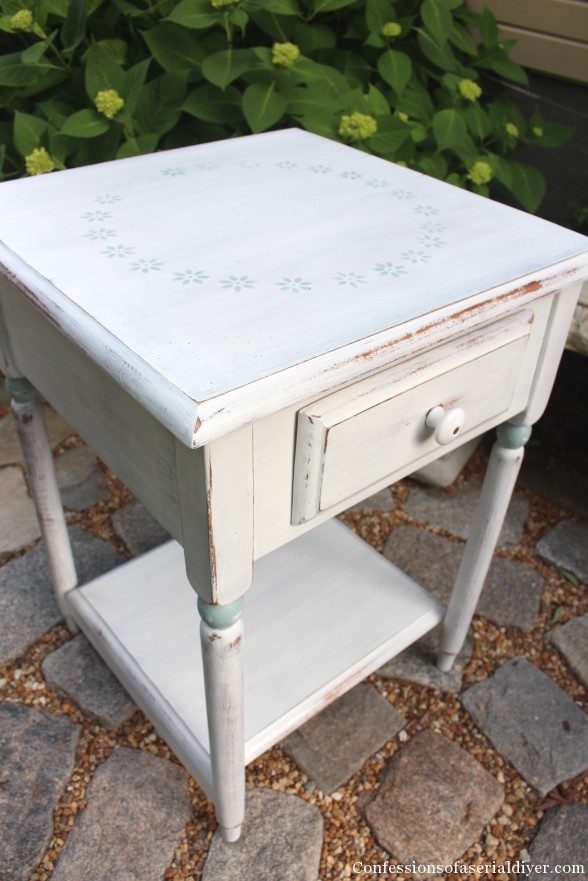
Add a personal touch to a plain side table with stencils and paint.
- Materials: A side table, stencils, paint or spray paint, and a stencil brush.
- Process: Apply the stencil to your side table and use the stencil brush to paint over it. Let it dry completely before removing the stencil.
Project 9: Customized Wooden Headboard

Create a unique headboard for your bed using wooden planks.
- Materials: Wooden planks, screws, a saw, and paint or stain.
- Process: Cut the planks to fit the width of your bed. Sand the planks and apply paint or stain. Once dry, attach the planks together using screws and mount the headboard behind your bed.
Related Article: 10 DIY Home Renovation Tips for a Successful Project
Project 10: Farmhouse Dining Table

Build a sturdy and rustic dining table that will be the centerpiece of your dining room.
- Materials: Large wooden planks, table legs, screws, a power drill, and paint or stain.
- Process: Cut the planks to your desired table size. Attach the planks together and secure the table legs using screws. Sand the table and apply paint or stain for a finished look.
Project 11: Vintage Vanity Makeover
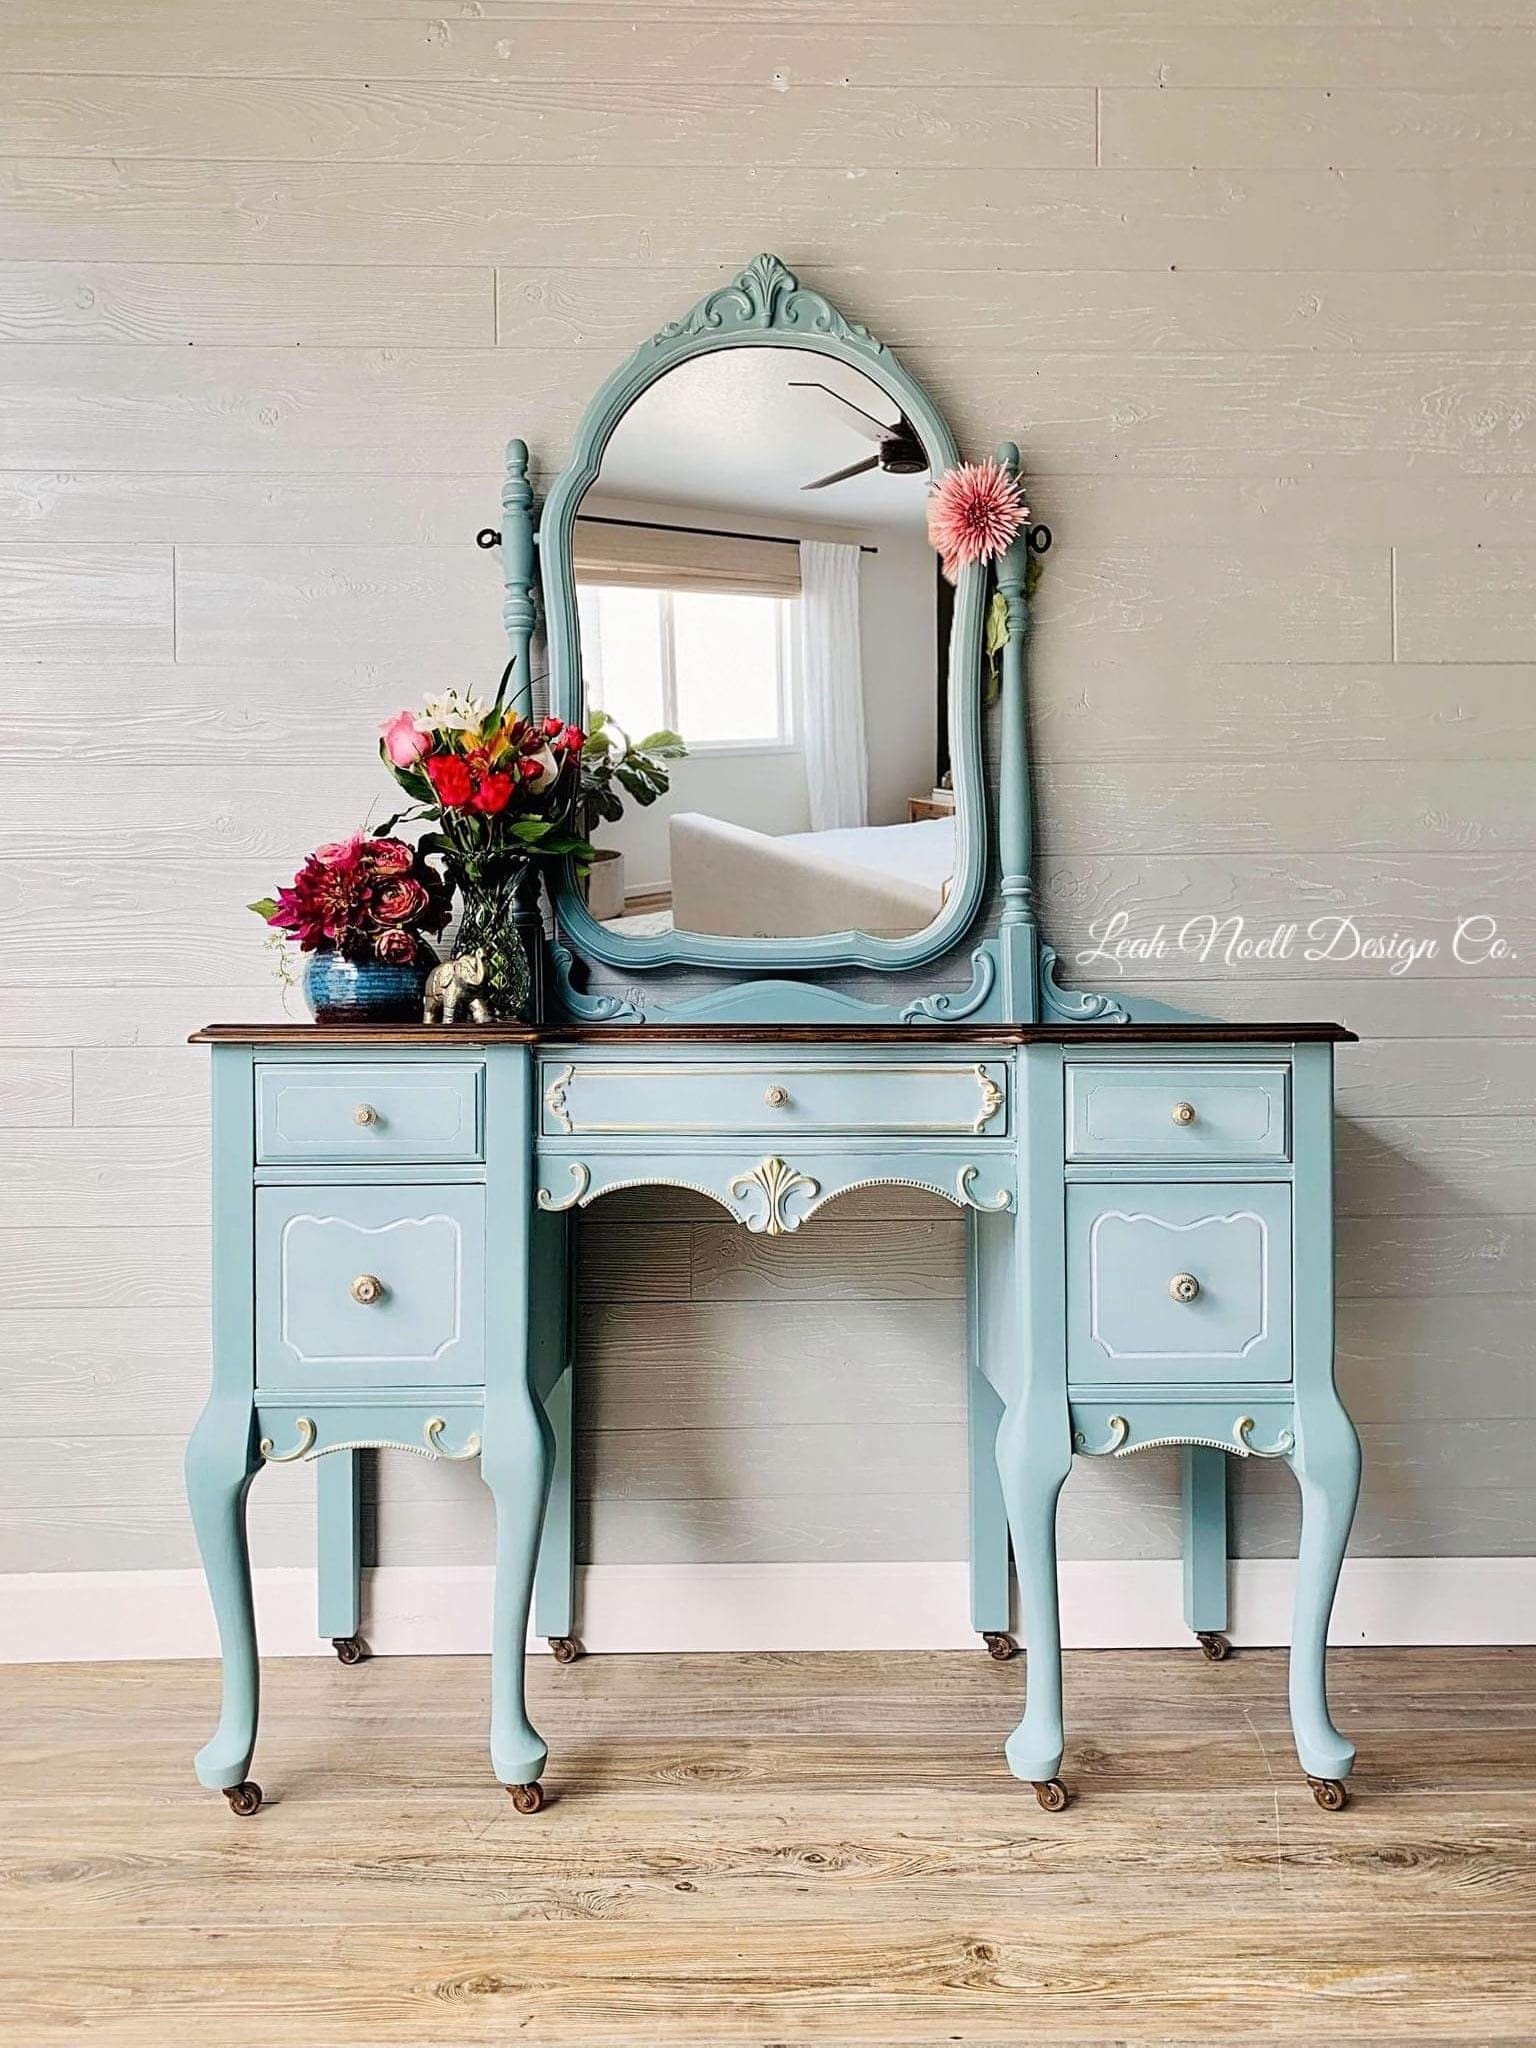
Revamp an old vanity table with some paint and new hardware.
- Materials: An old vanity table, paint, new knobs or handles, and a screwdriver.
- Process: Clean the vanity table and apply a fresh coat of paint. Replace the old knobs or handles with new ones to complete the makeover.
Project 12: DIY Ottoman
Transform an old coffee table into a comfortable ottoman.
- Materials: An old coffee table, foam padding, fabric, a staple gun, and paint.
- Process: Remove any old paint from the coffee table and apply a fresh coat. Cut the foam padding to fit the top of the table, and cover it with your chosen fabric, securing it underneath with a staple gun.
Project 13: Wooden Bench

Add extra seating to any room with a simple wooden bench.
- Materials: Wooden planks, screws, a power drill, and paint or stain.
- Process: Cut the planks to your desired bench size. Attach the planks together using screws. Sand the bench and apply paint or stain for a finished look.
Project 14: Corner Desk
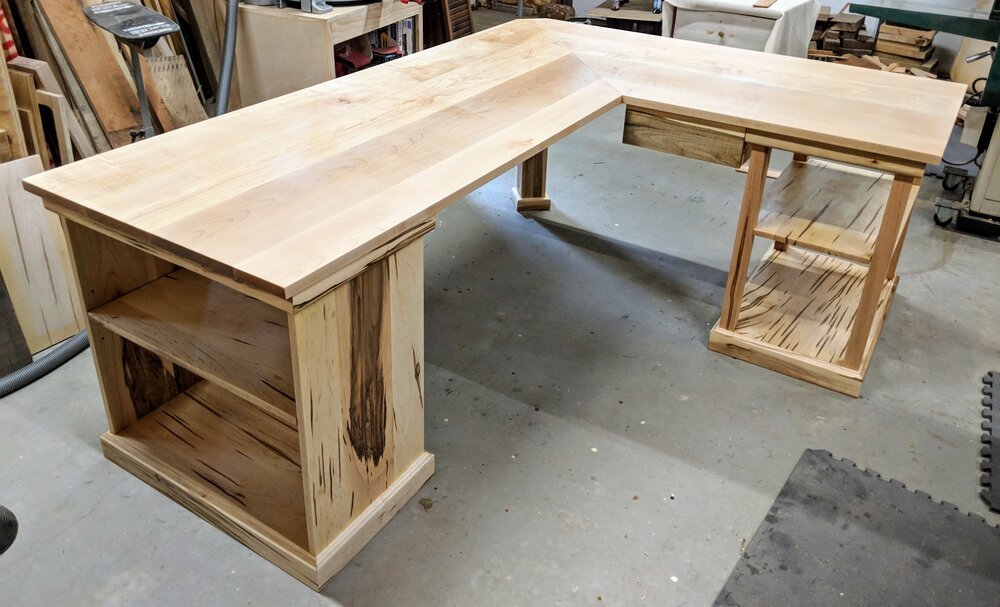
Maximize your space with a corner desk.
- Materials: Plywood, screws, a power drill, L-brackets, and paint or stain.
- Process: Cut the plywood to fit your corner space. Attach the pieces together using screws and L-brackets. Sand the desk and apply paint or stain for a finished look.
Project 15: Hanging Swing Chair
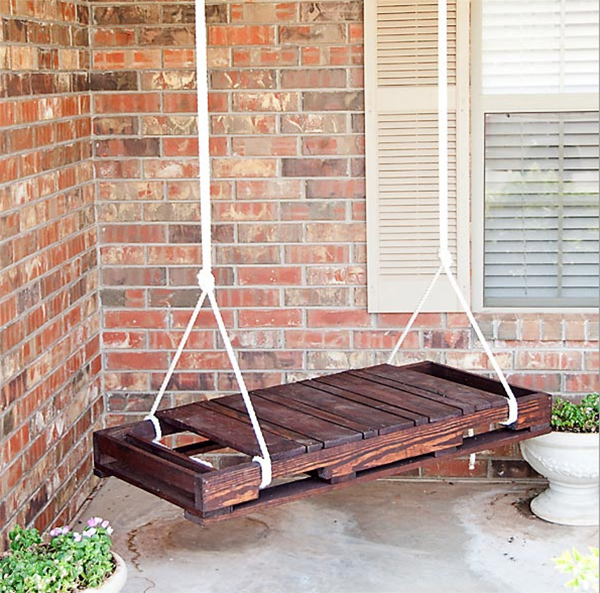
Create a relaxing spot in your home or garden with a hanging swing chair.
- Materials: A sturdy wooden plank, thick rope, and ceiling hooks.
- Process: Drill four holes into the corners of the plank. Thread the rope through the holes and tie secure knots. Install the ceiling hooks and hang the chair, ensuring it’s at a comfortable height.
Project 16: Garden Potting Bench
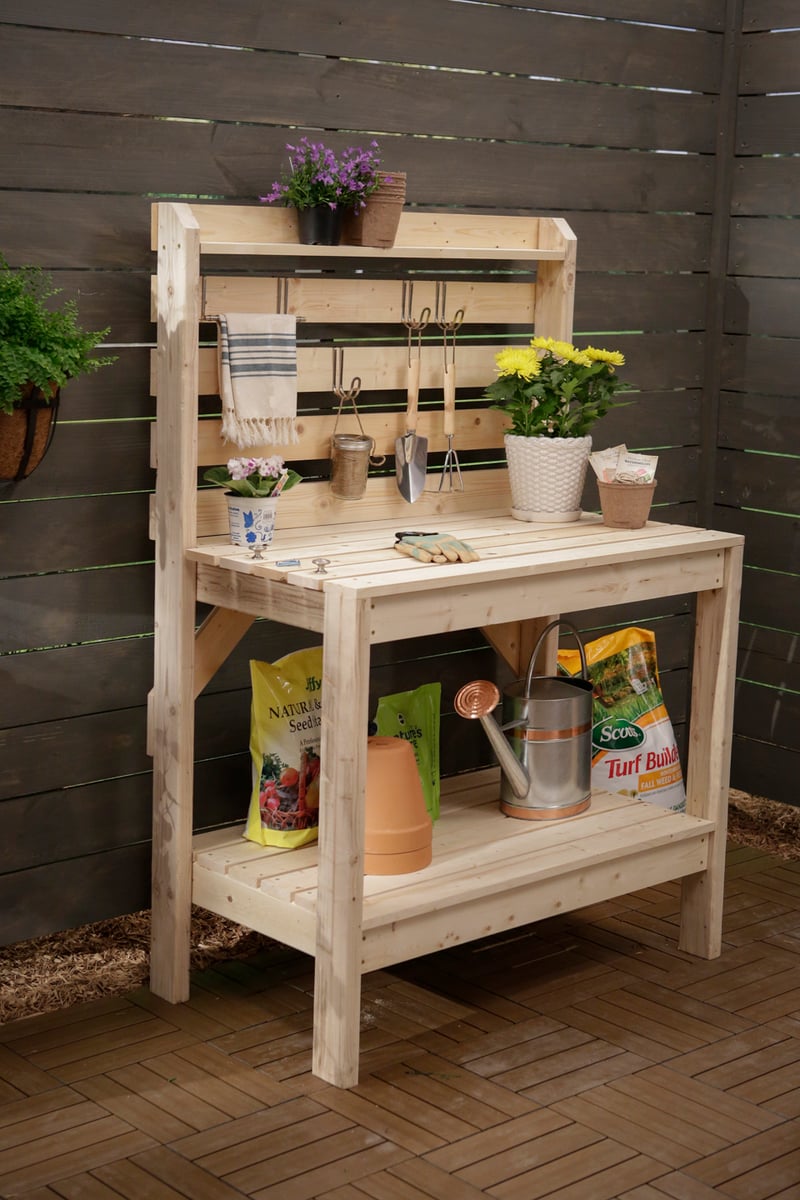
Make gardening easier with a dedicated potting bench.
- Materials: Wooden planks, screws, a power drill, and paint or stain.
- Process: Cut the planks to your desired bench size. Attach the planks together using screws. Sand the bench and apply paint or stain for a weatherproof finish.
Project 17: Outdoor Sofa
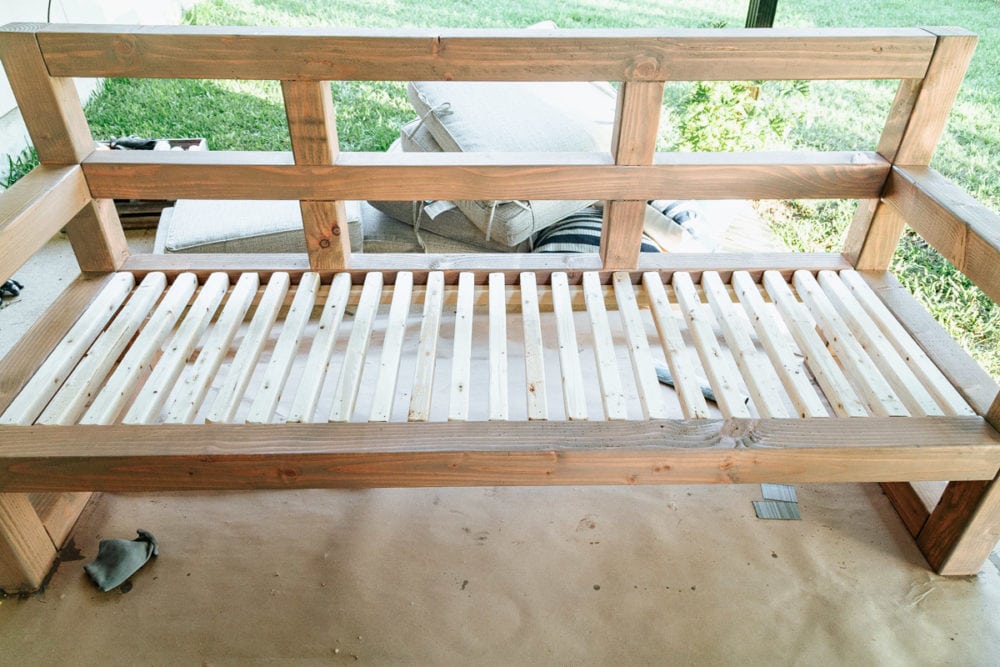
Upgrade your outdoor seating with a DIY wooden sofa.
- Materials: Wooden planks, screws, a power drill, outdoor cushions, and paint or stain.
- Process: Cut the planks to form the frame of your sofa. Attach the planks together using screws. Sand the sofa and apply paint or stain for a weatherproof finish. Add cushions for comfort.
Project 18: Bedside Night stand
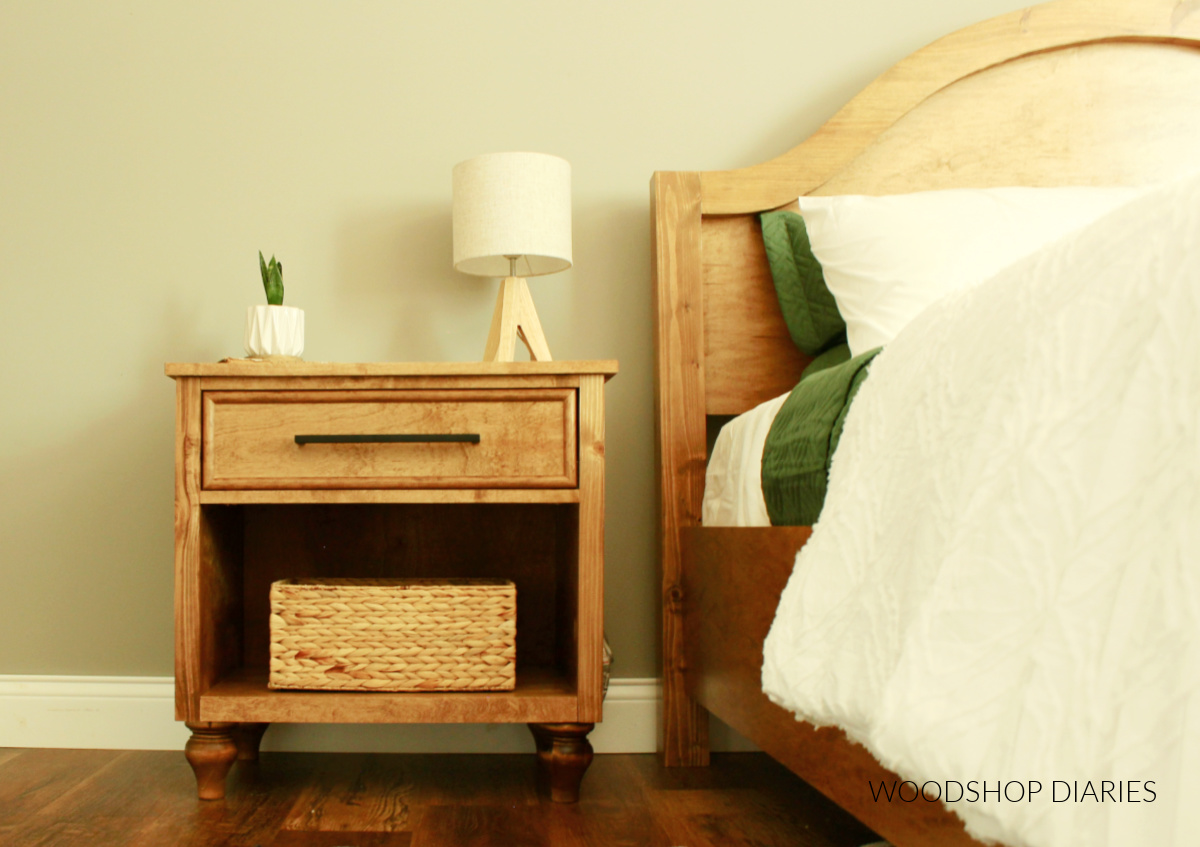
Build a functional and stylish night stand for your bedroom.
- Materials: Wooden planks, screws, a power drill, and paint or stain.
- Process: Cut the planks to your desired nightstand size. Attach the planks together using screws. Sand the nightstand and apply paint or stain for a finished look.
Project 19: DIY Dresser

Customize your storage with a DIY dresser.
- Materials: Wooden planks, screws, a power drill, drawer pulls, and paint or stain.
- Process: Cut the planks to form the frame of your dresser and the drawers. Attach the planks together using screws. Sand the dresser and apply paint or stain for a finished look. Attach the drawer pulls to complete the project.
Project 20: Wooden Shoe Rack
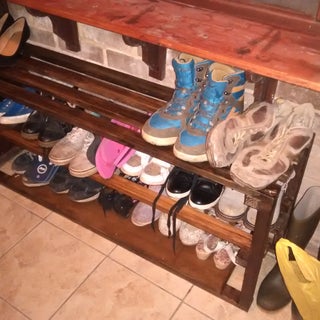
Organize your shoes with a simple wooden shoe rack.
- Materials: Wooden planks, screws, a power drill, and paint or stain.
- Process: Cut the planks to your desired shoe rack size. Attach the planks together using screws, leaving gaps between for your shoes. Sand the shoe rack and apply paint or stain for a finished look
Conclusion
DIY furniture projects are an excellent way to upgrade your living space while learning new skills. From beginner-friendly pallet coffee tables to more advanced projects like a farmhouse dining table, there's a project for every skill level.
Remember, the process is just as important as the product. Embrace the challenges and enjoy the process of creating something uniquely yours.
Related Article: 20 DIY Unique and Personalized Accessories
Related Topics

How to Use Tap and Die Sets for Creating Custom Threads
Using tap and die sets can be a rewarding way to create custom threads for various projects. Thes...
Read More
How to Repair Stripped Threads Using a Tap and Die Set
Stripped threads can be a common issue when working with metal parts, especially in automotive re...
Read More
Understanding Tap and Die Thread Standards
Tap and die sets are essential tools used in various projects to create threads on screws, bolts,...
Read More